1) Create your organization
Sign up or log in to the Gentility Console and create an organization.
Sign up or log in to the Gentility Console and create an organization.
Decide which resources you’re exposing. The buttons jump to the relevant steps below.
Install the Gentility agent and stop there. Perfect for ephemeral shells or file operations.
Go to agent installConnect a database reachable from Gentility over the public internet or VPN. No agent required.
Add DB (direct)Install the agent, create a portal, and expose internal databases through it.
Add DB via portalRun the installer on Ubuntu/Debian and register the agent with your organization. The agent provides ephemeral and persistent shells, plus safe database access.
                  # Add GPG key
sudo mkdir -p /etc/apt/keyrings
curl -s https://packages.gentility.ai/gentility-packages.gpg  | sudo tee /etc/apt/keyrings/gentility-packages.asc > /dev/null

# Add repository
echo "deb [signed-by=/etc/apt/keyrings/gentility-packages.asc] https://packages.gentility.ai/debian/ stable main" | sudo tee /etc/apt/sources.list.d/gentility.list

# Install agent
sudo apt update
sudo apt install gentility-agent
                  # Download latest package
wget https://github.com/gentility-ai/agent/releases/download/v1.0.32/gentility-agent_1.0.32_amd64.deb


# Install package
sudo dpkg -i gentility-agent_1.0.32_amd64.deb
sudo apt-get install -f
                  # Initial setup (requires access token)
sudo gentility setup YOUR_TOKEN_HERE

# Start the agent
gentility run
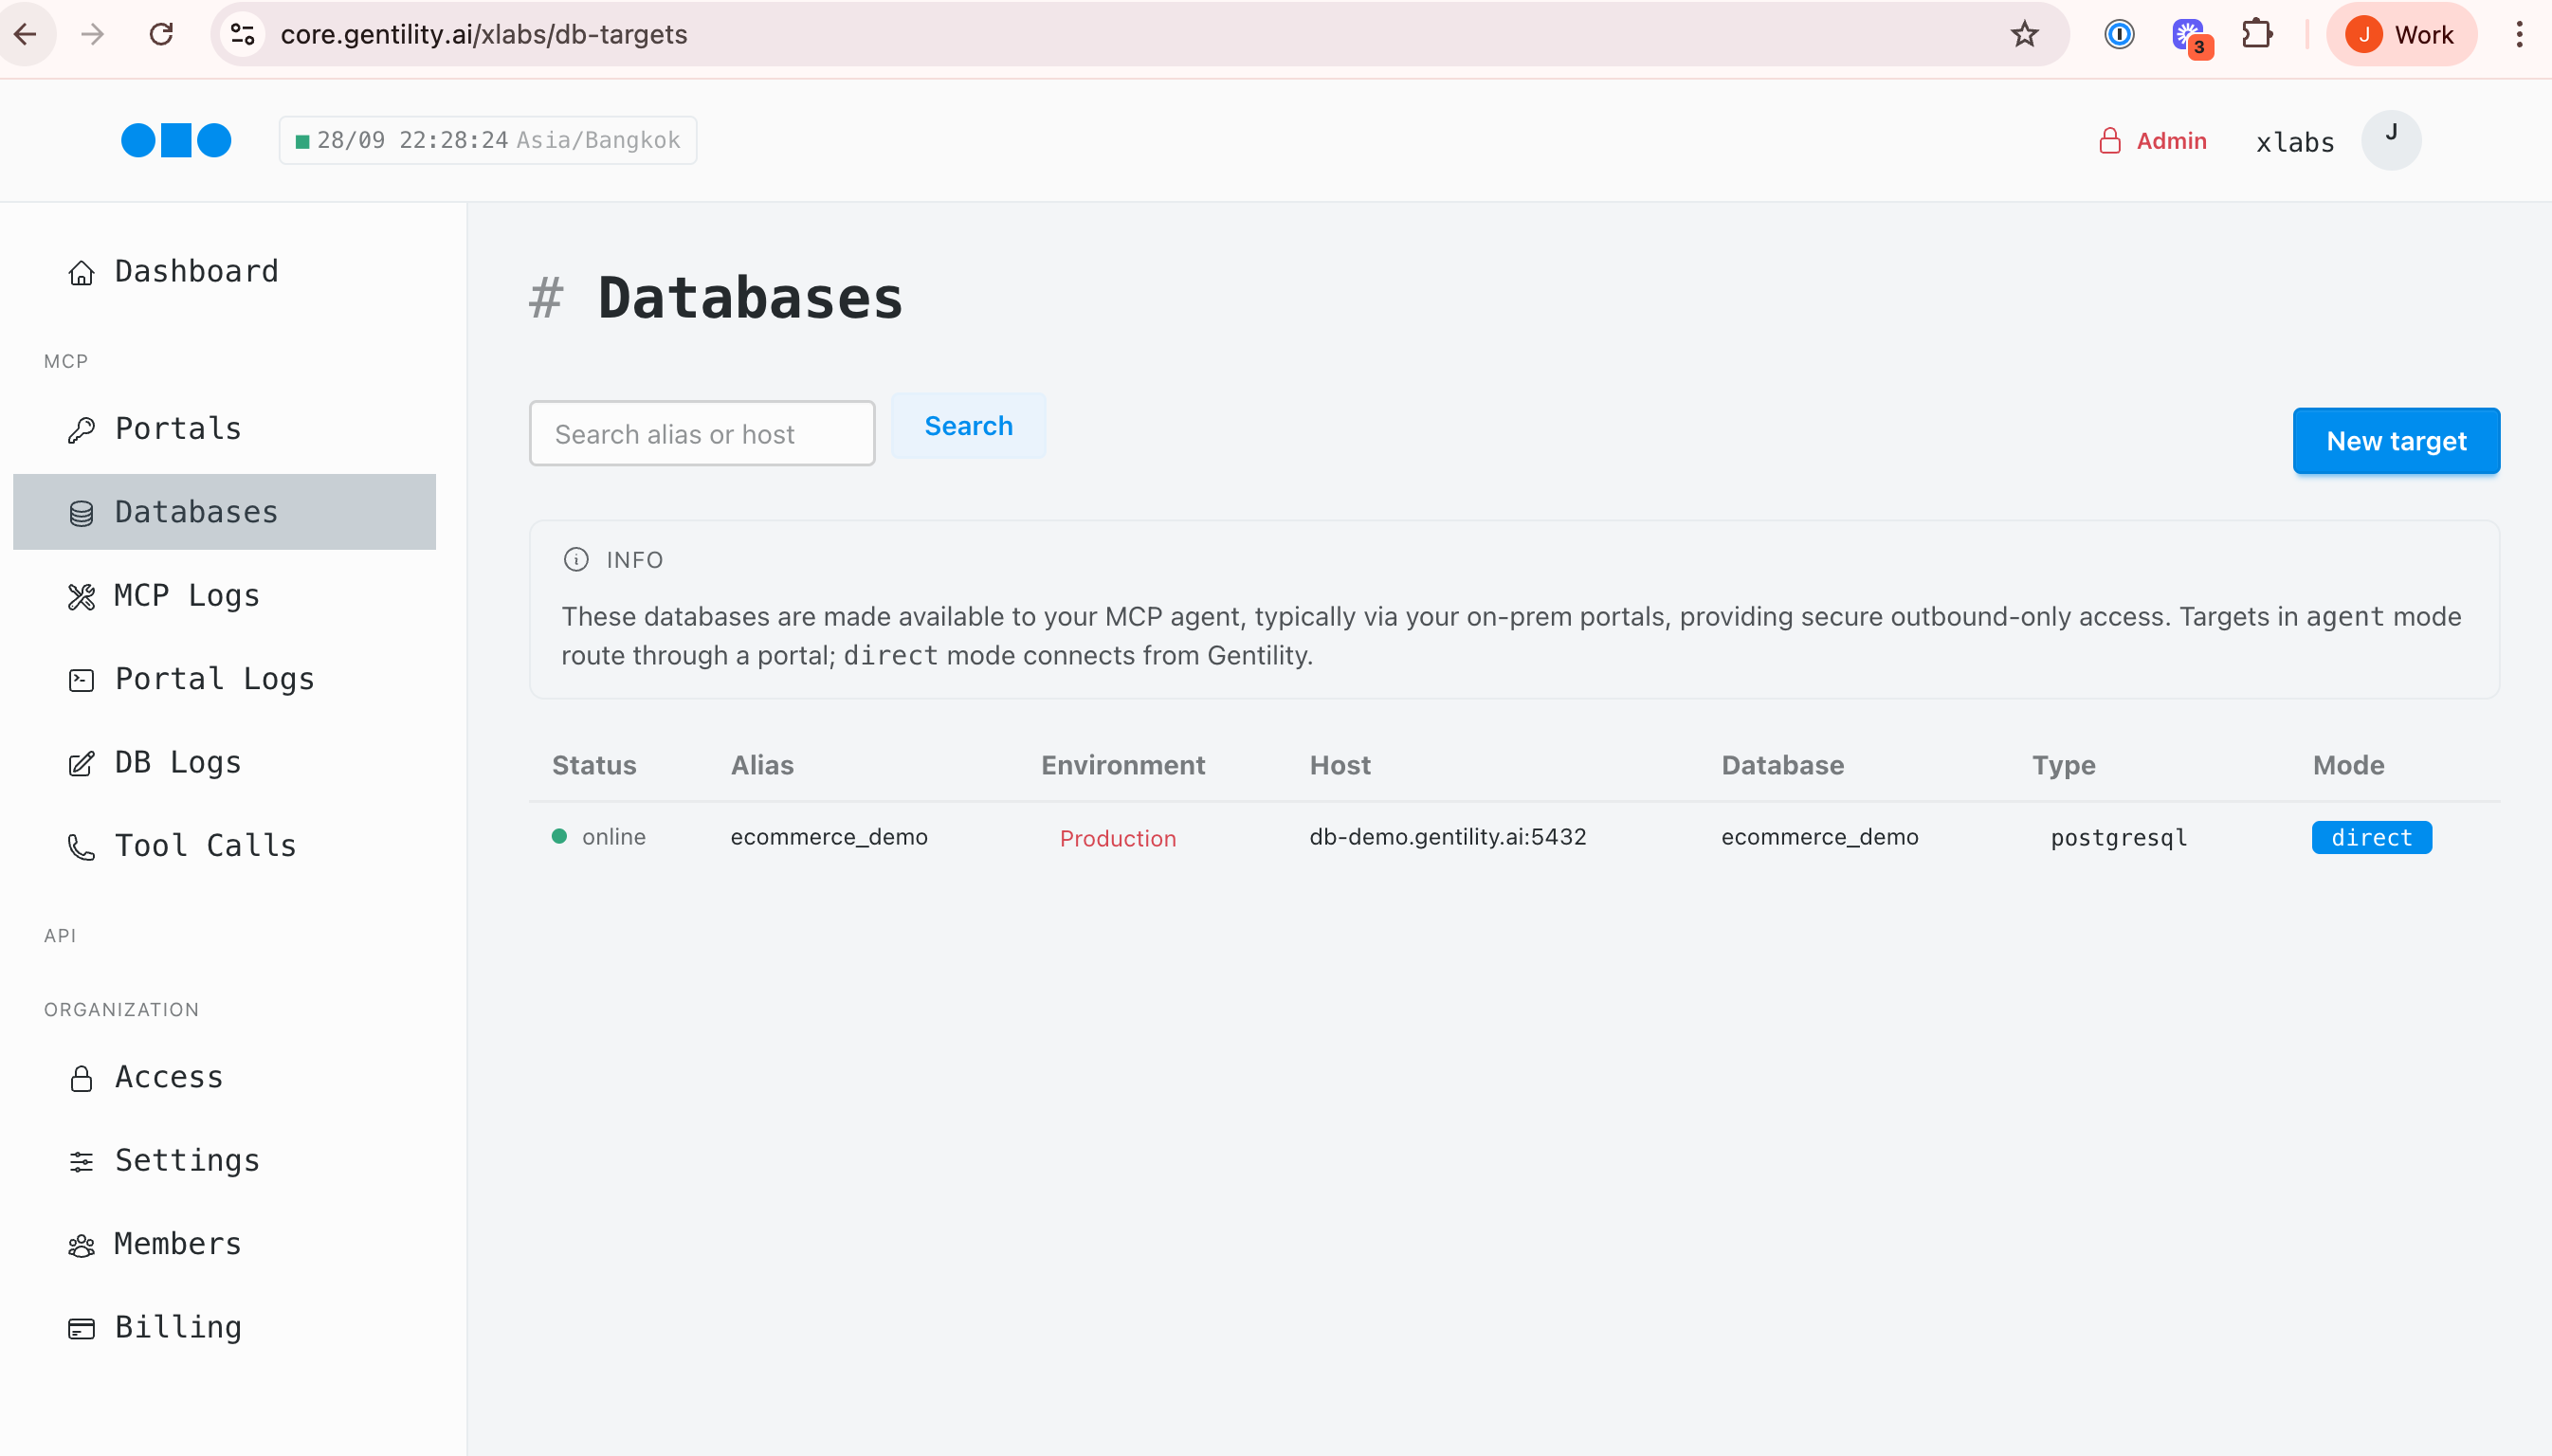
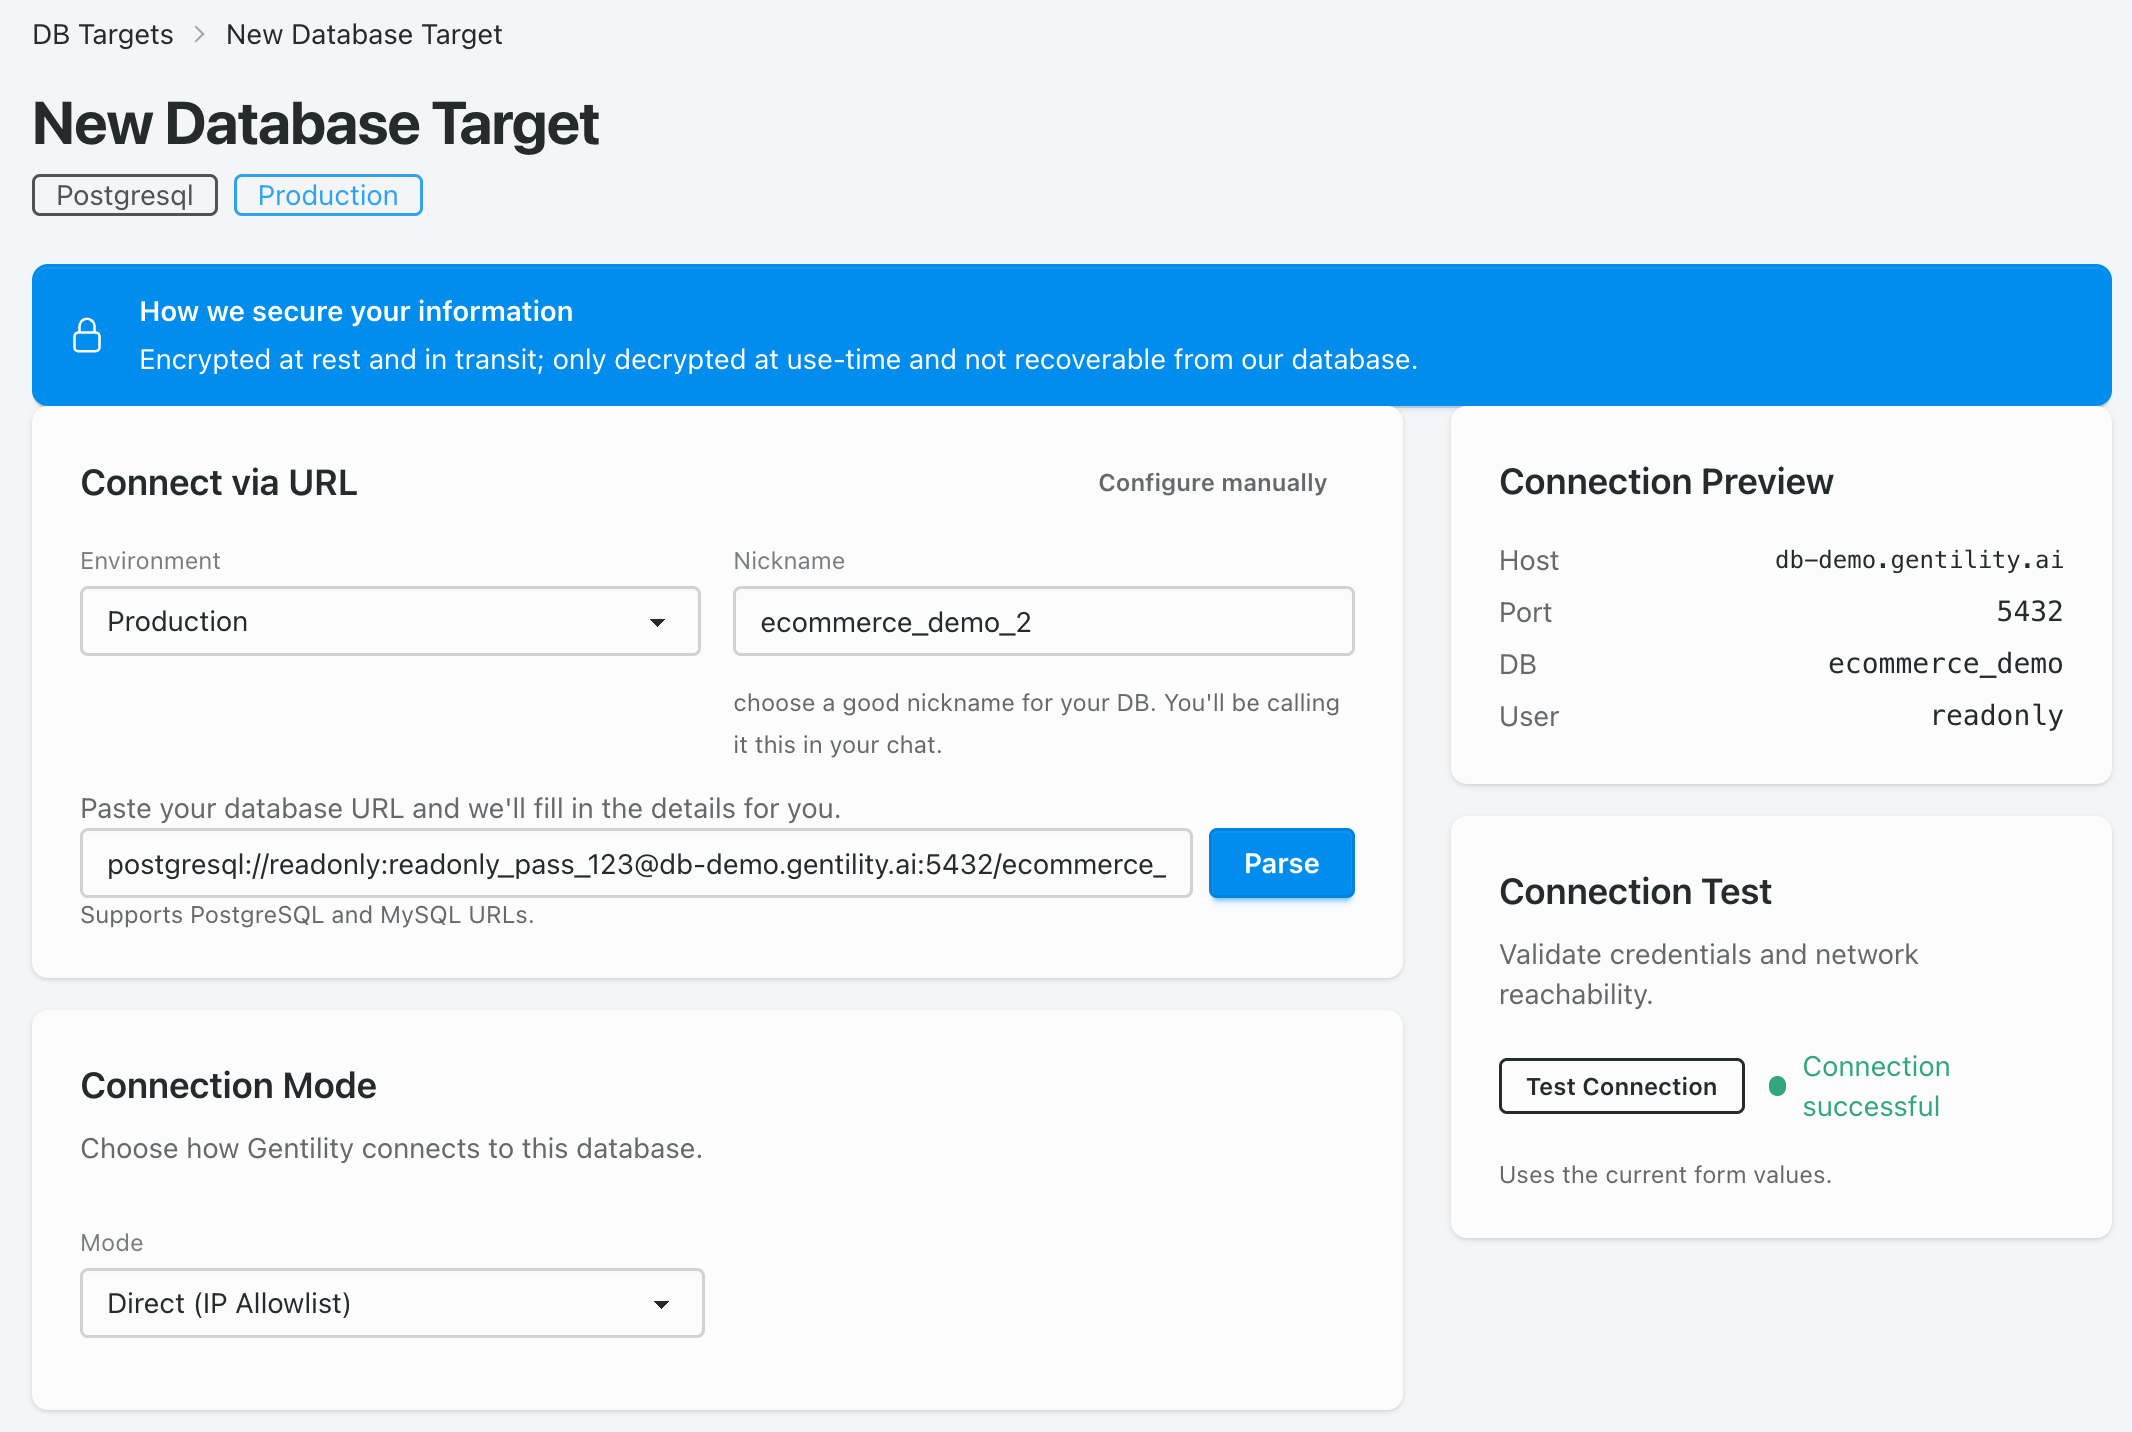
In the Console, go to Data Sources → Add Target. Start with read‑only to validate policies and visibility. You can later enable guarded writes.
Feel free to test with our read-only demo databases:
postgresql://readonly:[email protected]:5432/ecommerce_demo mssql://readonly:[email protected]:1433/ecommerce_demo 

When a database is only reachable from inside your network, use the portal created during the agent install. Pick Agent (Portal) as the connection mode and supply the internal host/port.
Need deeper instructions? Follow the dedicated guides for installing the agent and adding database targets.
Claude and ChatGPT support MCP. In your client, add a Gentility target and enable it for a conversation. Use the guides below for specifics.
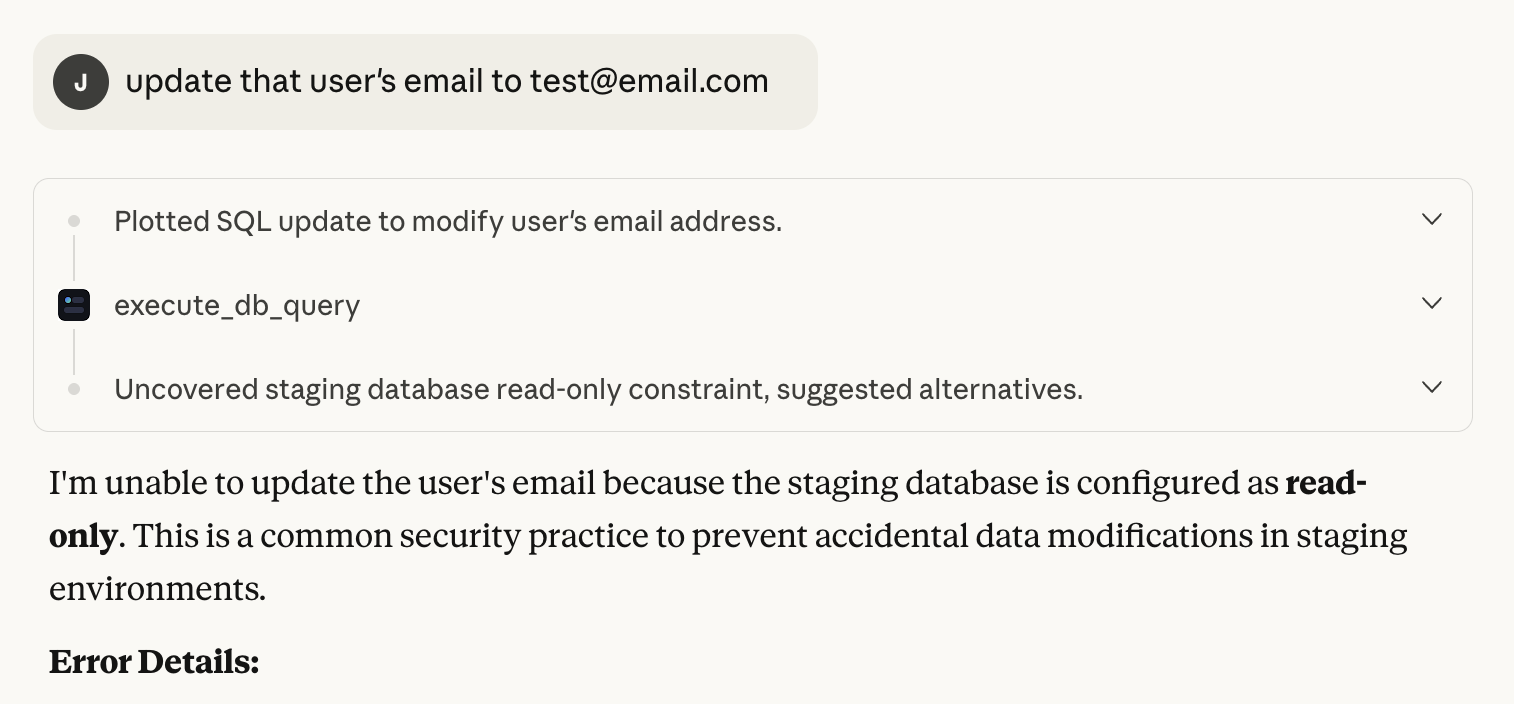
Run a safe query and confirm the policy decision, logs, and any artifacts are recorded. Try a blocked write to see the denial response and audit entry.
# Example blocked command
rm -rf /   # → Denied by policy

# Example blocked SQL
DROP TABLE users;   # → Denied by policy